
Hello! My name is Marek Zaranski and I made this simple scene as an example of my creative process. It will show my accumulated knowledge of the prop-modeling, lighting, post-processing, story-telling. I would also like like to say that if you feel like there is a better way to go aroung the things I write about below, than by all means please let me know! This short article is here to present the thought process and I will try not to go too specyfic into technical details of the modelling or lighting. This scene allowed me to improve my process in some ways and I think that it may be of some use for anybody who like makes environment art.
1. Getting inspired
|
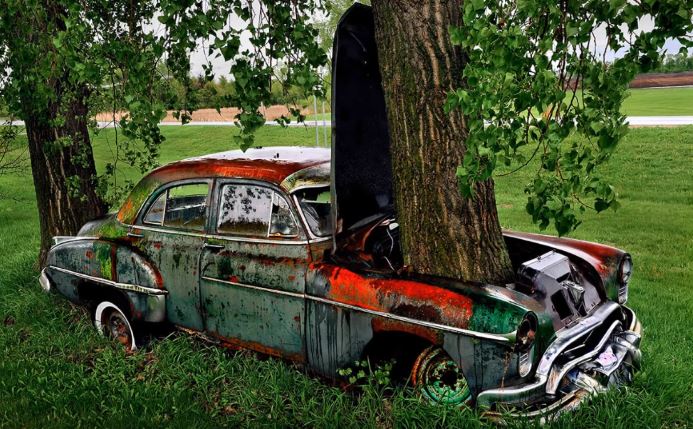
I guess the photo on the left is the main inspiration for the scene. I decided to re-create the idea and add some sweet, nostalgic feel to it.
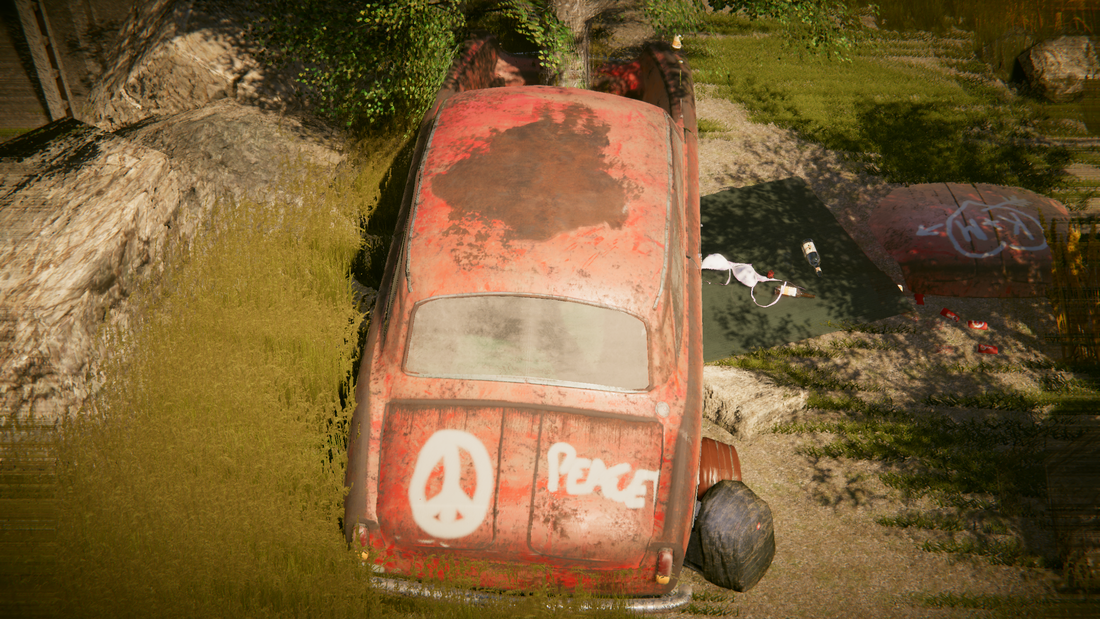
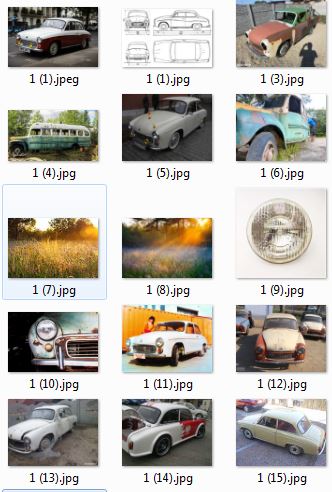
From the begining I knew that I wanted to change the envoronment of the scene to something closer to my experiences and where I come from. To begin with, this meant changing the car :) I picked Syrena 105 because I like the shape of it and it was old enough to match the idea of the tree growing through it. Secondly, I needed to change the vegetation to reflect the Polish rural areas. Having established this basics, I went to the web to find much more references. Below you can find some of them. 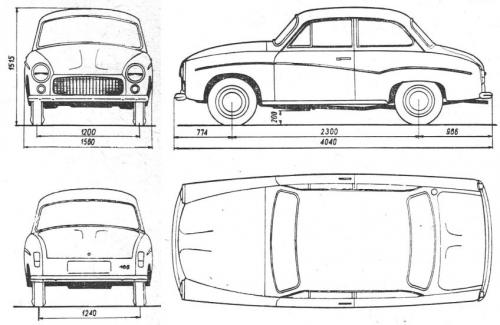
|
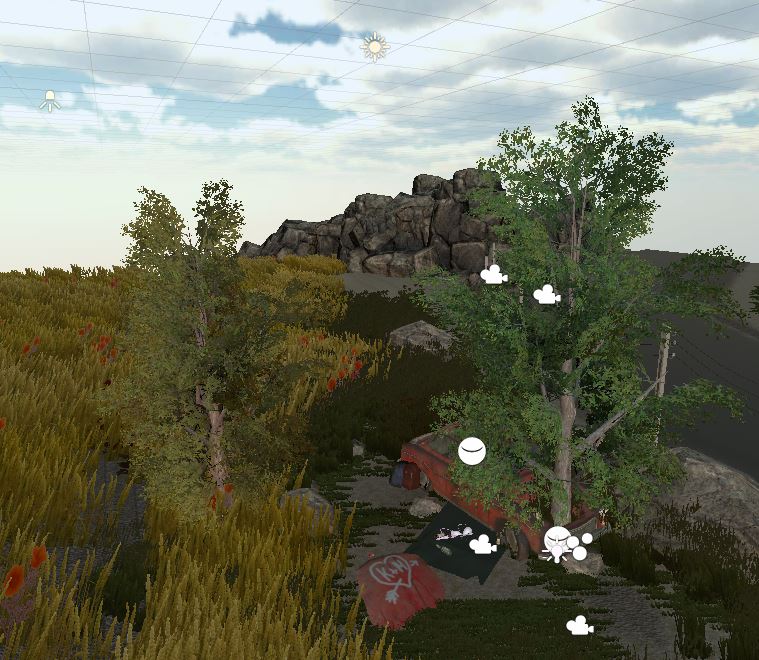
2. Blockout phase, scale, texel density.
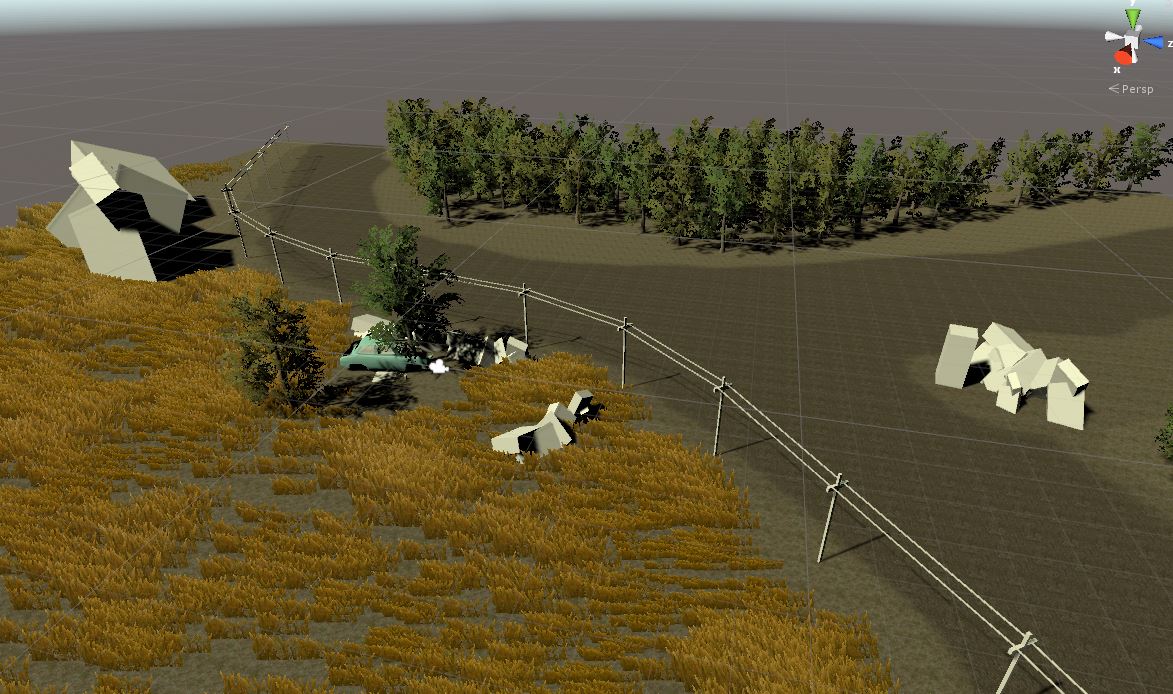
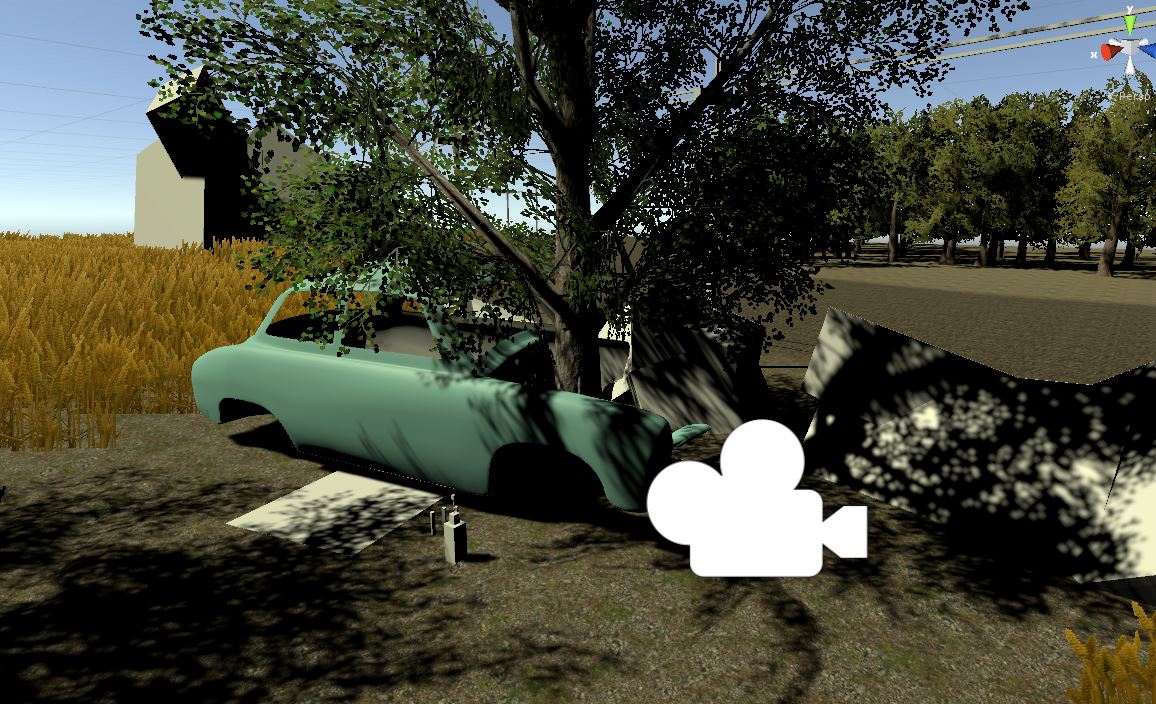
At this stage, I also came up with the idea of teenagers who could possibly use this place as a hook up point. Obviously, I wanted the environment to tell the story that matched the nostalgic, warm feeling that I wanted to show.
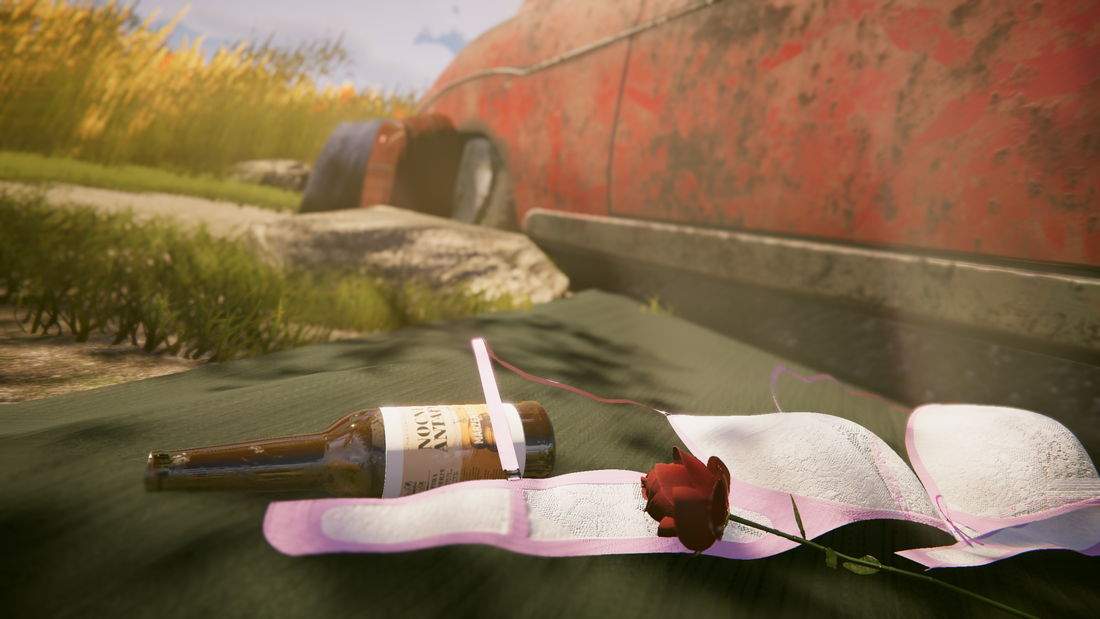
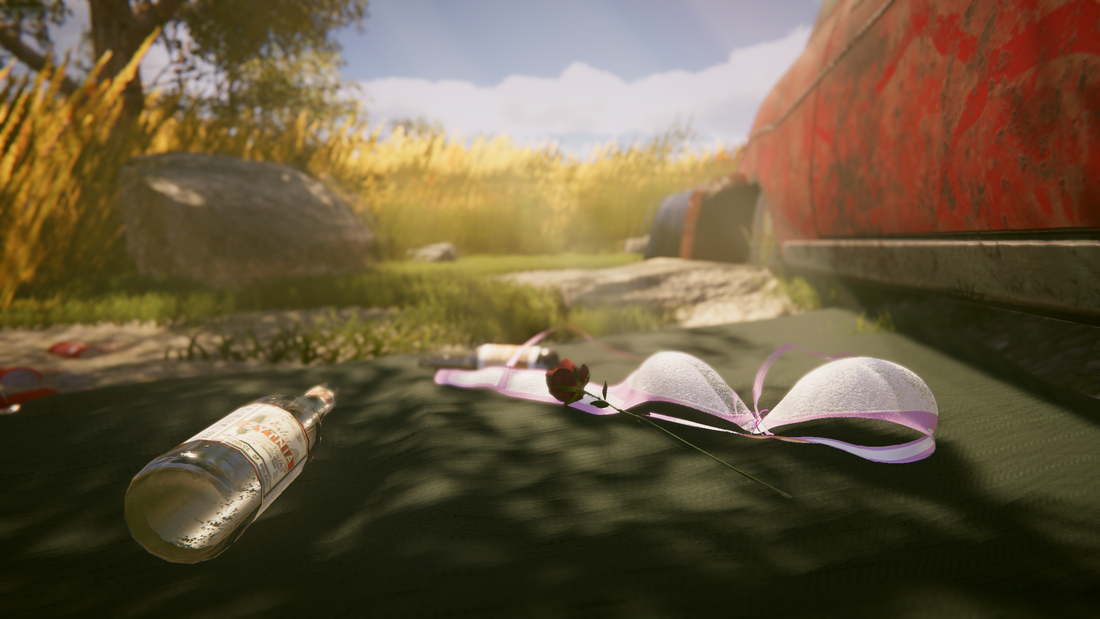
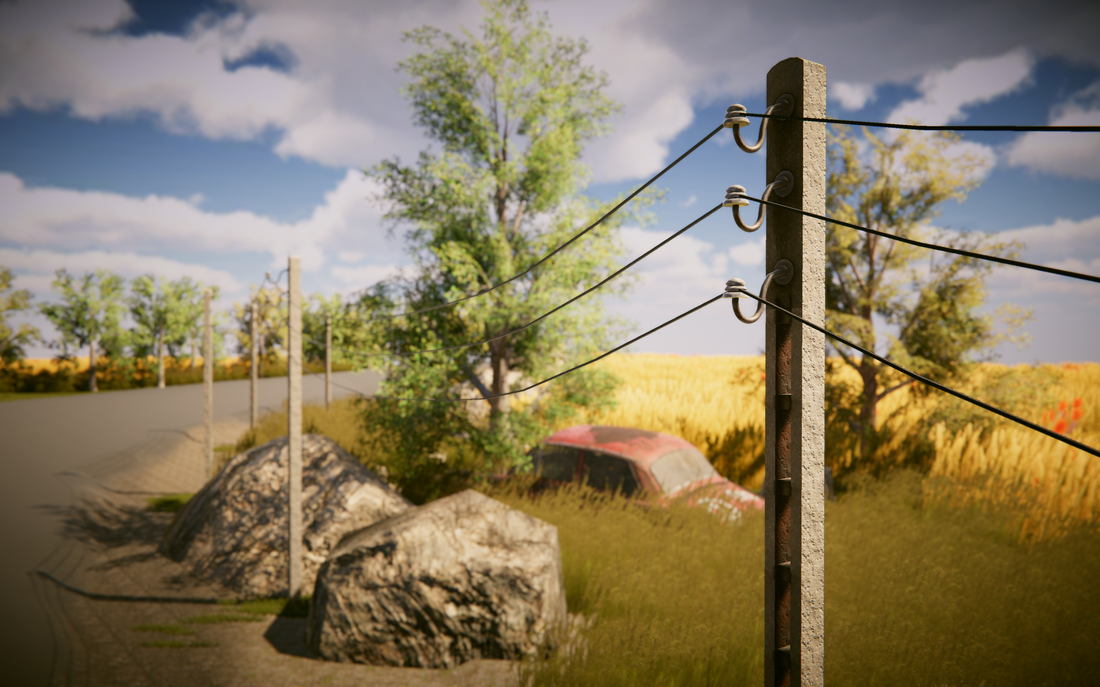
I picked the props to be modelled carefully, having in mind that picture is always open for interpretation. As I really wanted to make it crystal clear that it is meant to be a romantic scene and not a random one. Then, I tried to arrange the props accordingly, giving the teens some privacy, even though the car must have been abandoned somewhere close to the road! I tried to keep the grass high and placed some rocks between the car, and the road.
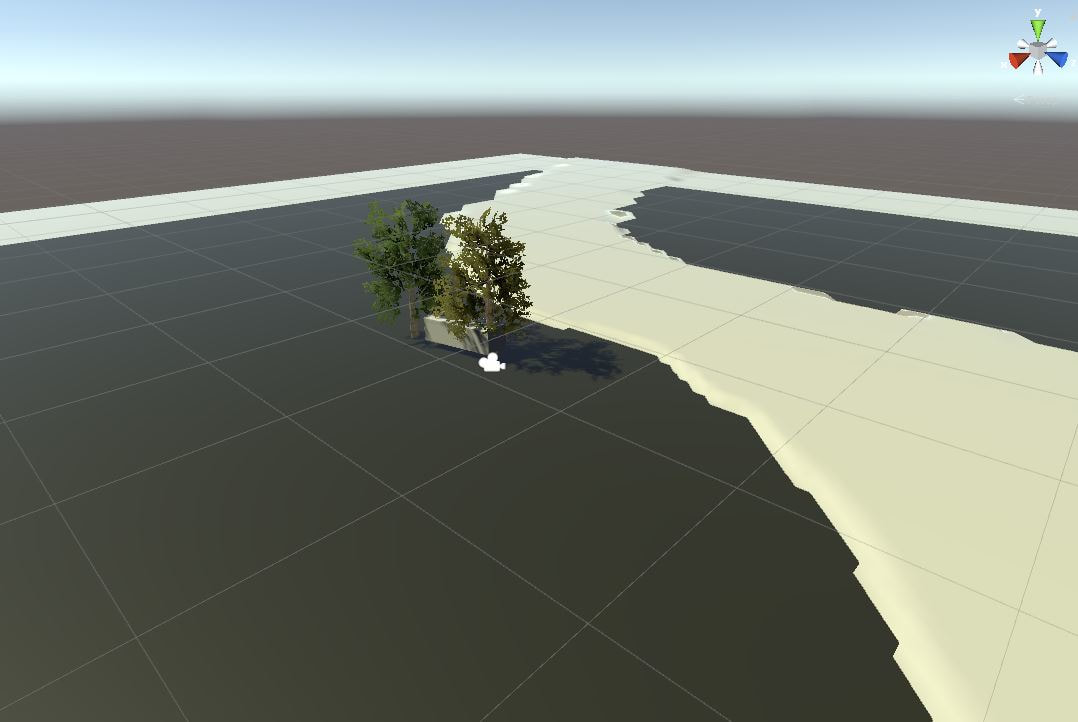
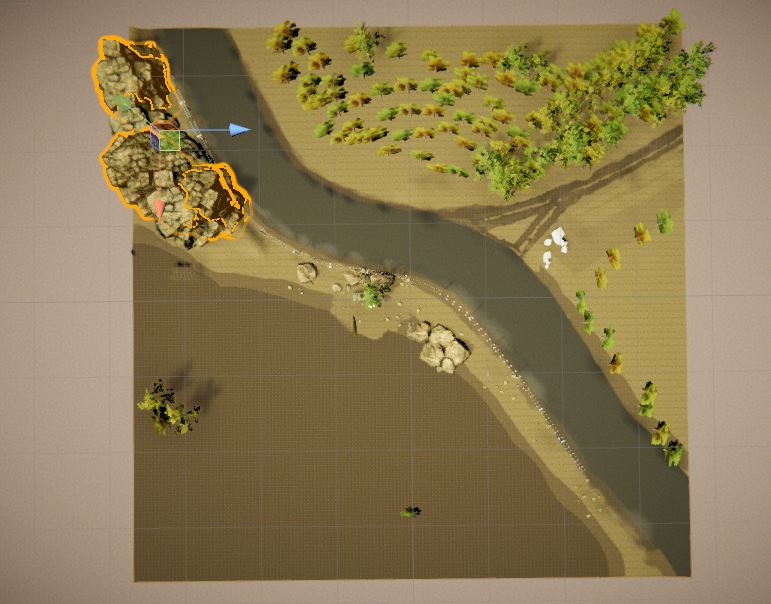
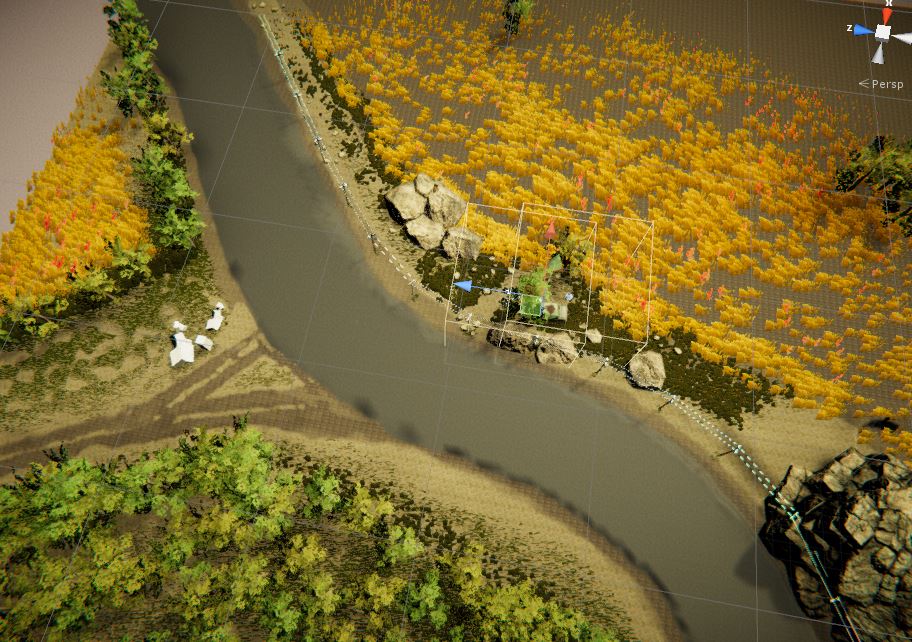
Being no good with drawing, I laid out simple blocks (as below) and generated vegetation using SpeedTree.
I picked the props to be modelled carefully, having in mind that picture is always open for interpretation. As I really wanted to make it crystal clear that it is meant to be a romantic scene and not a random one. Then, I tried to arrange the props accordingly, giving the teens some privacy, even though the car must have been abandoned somewhere close to the road! I tried to keep the grass high and placed some rocks between the car, and the road.
Being no good with drawing, I laid out simple blocks (as below) and generated vegetation using SpeedTree.
3. Building props
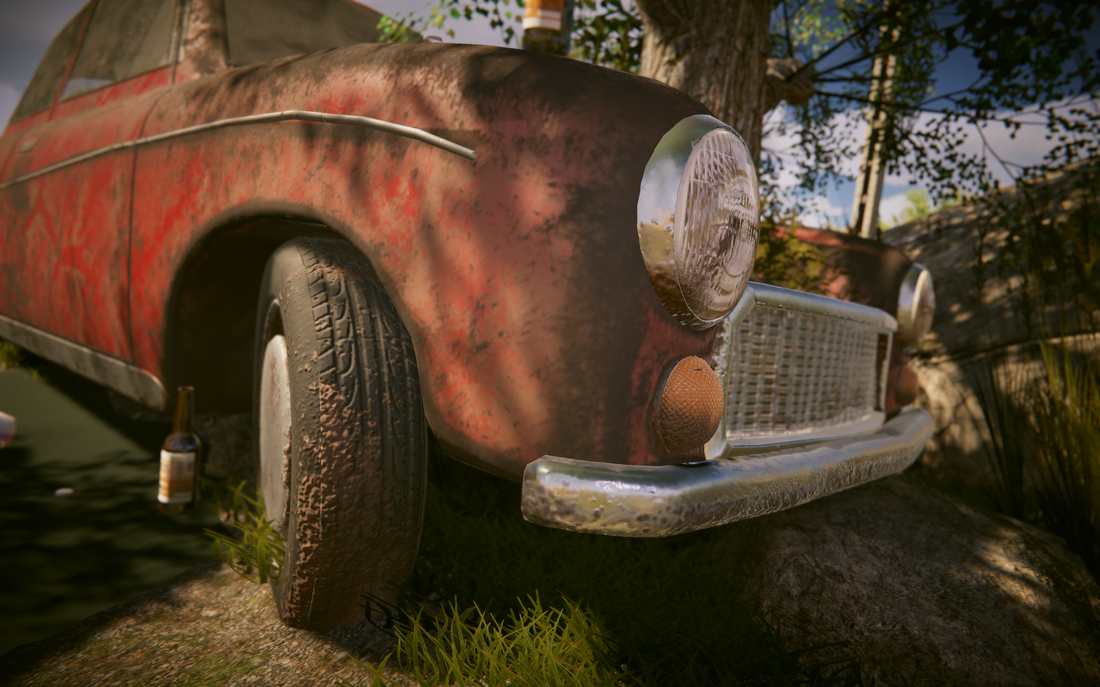
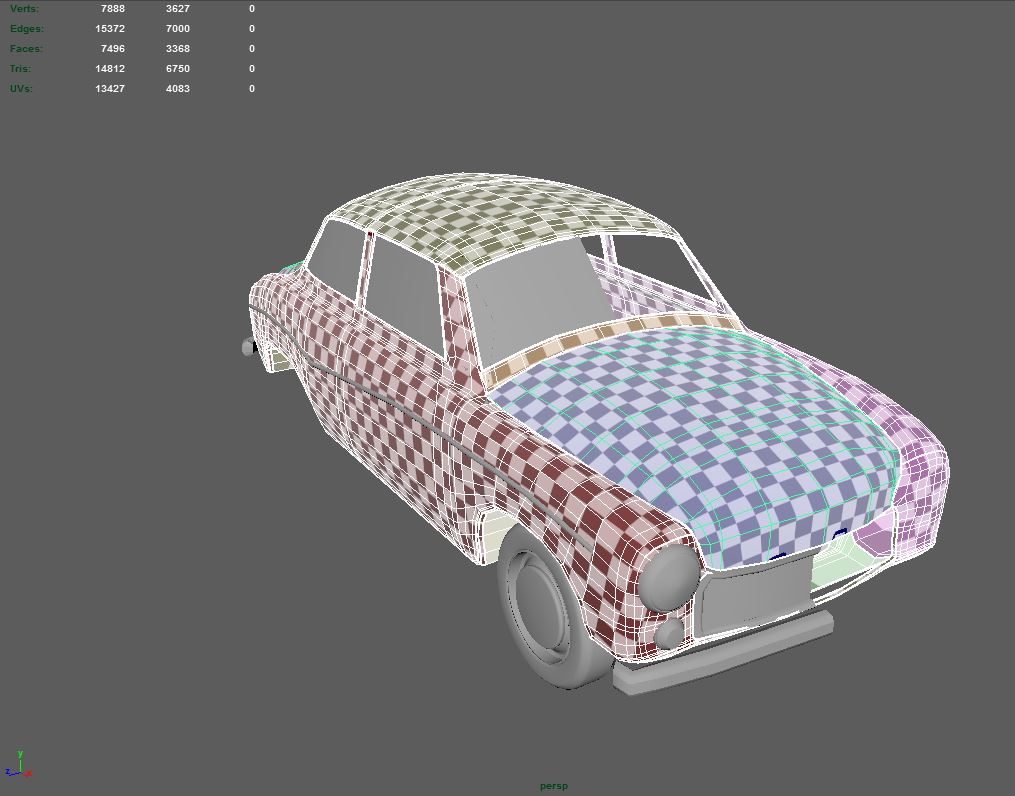
Here I started with the hero asset: the car. It was one of the strongest reasons behind making this scene.
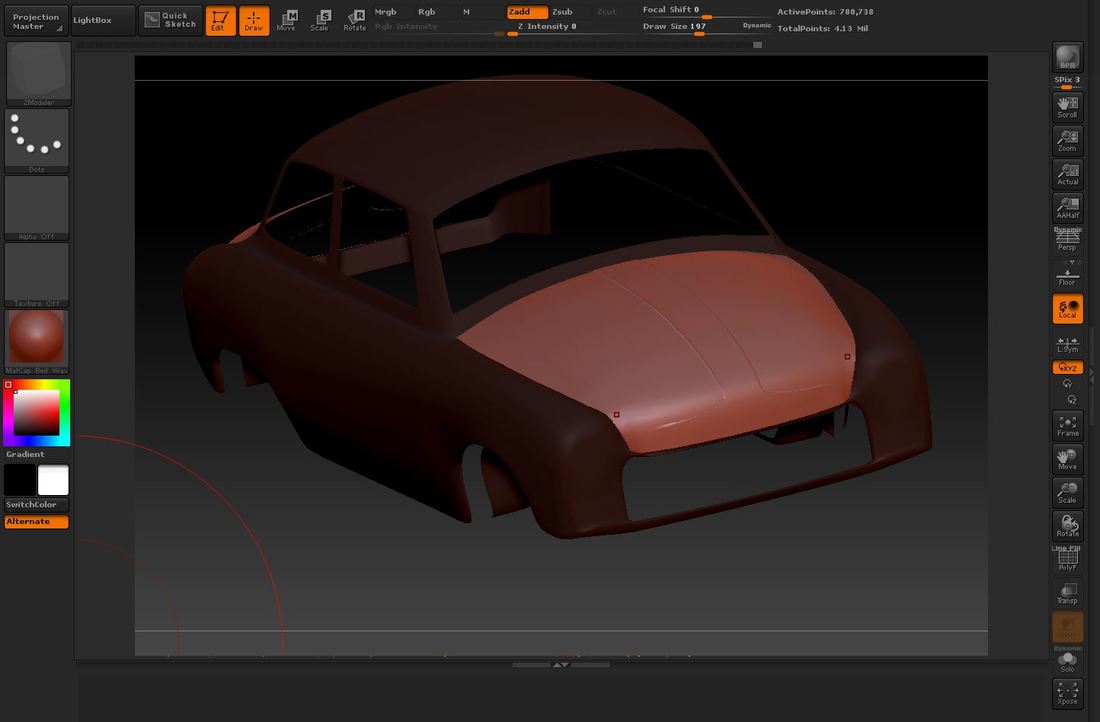
90% of the car is made with Maya. Some details were sculpted with Zbrush however Hi poly from Zbrush was used only for Normal map baking.
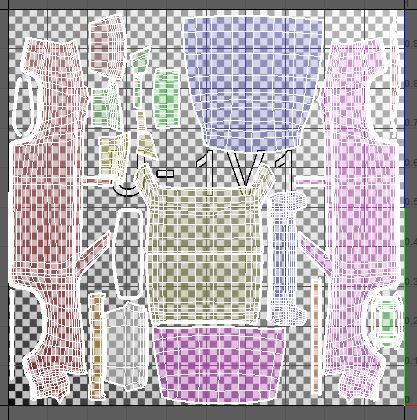
When I can, I allways try to bake colour ID map using materials form Maya as it gives much sharper results. The whole car is is textured using two 4k texture sets.
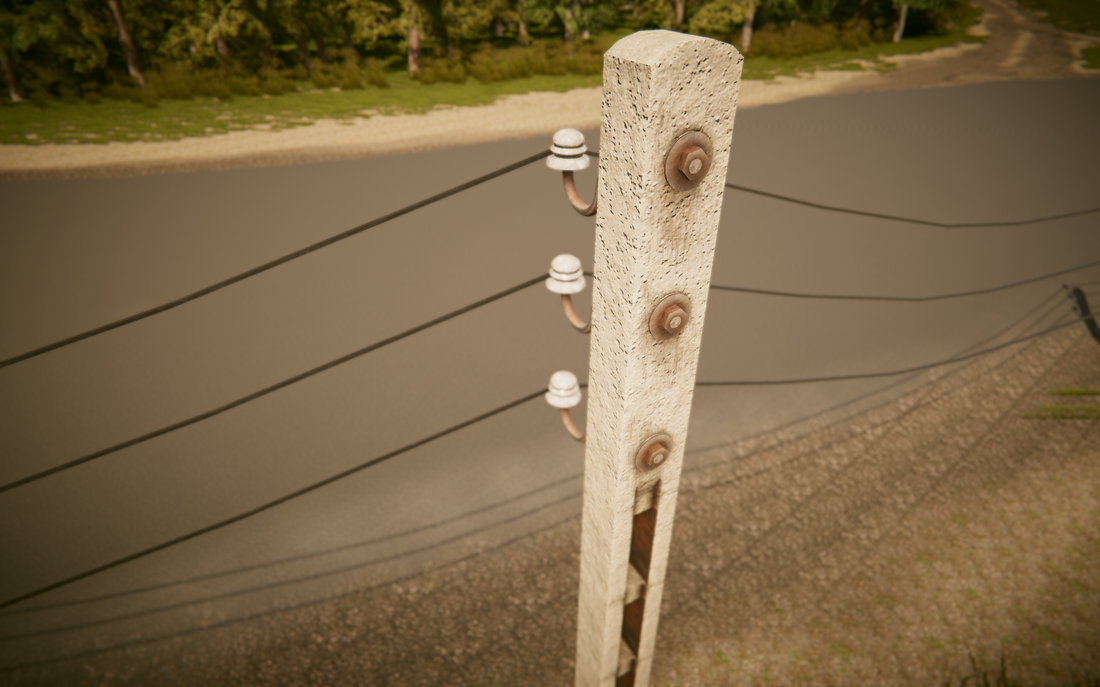
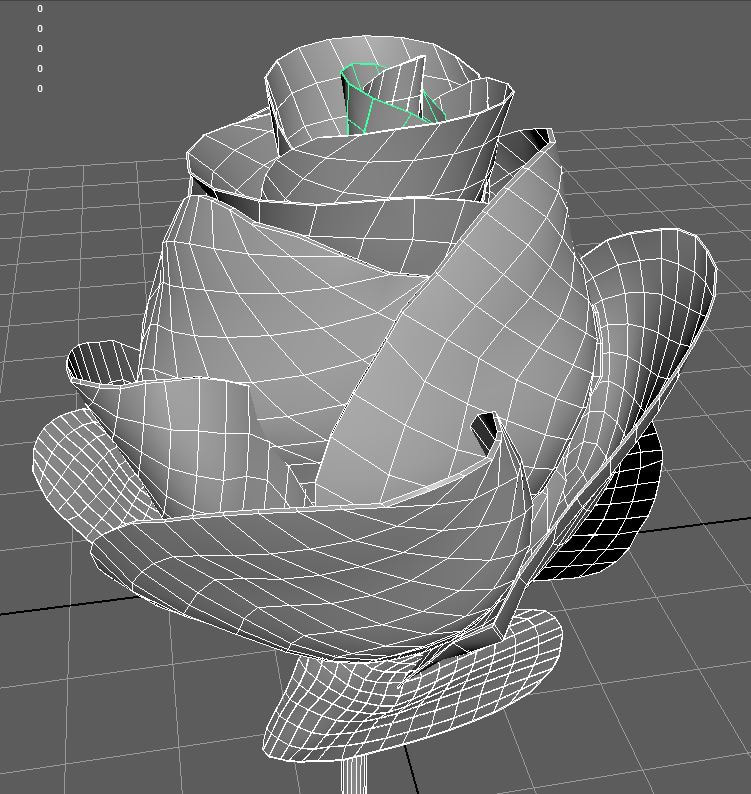
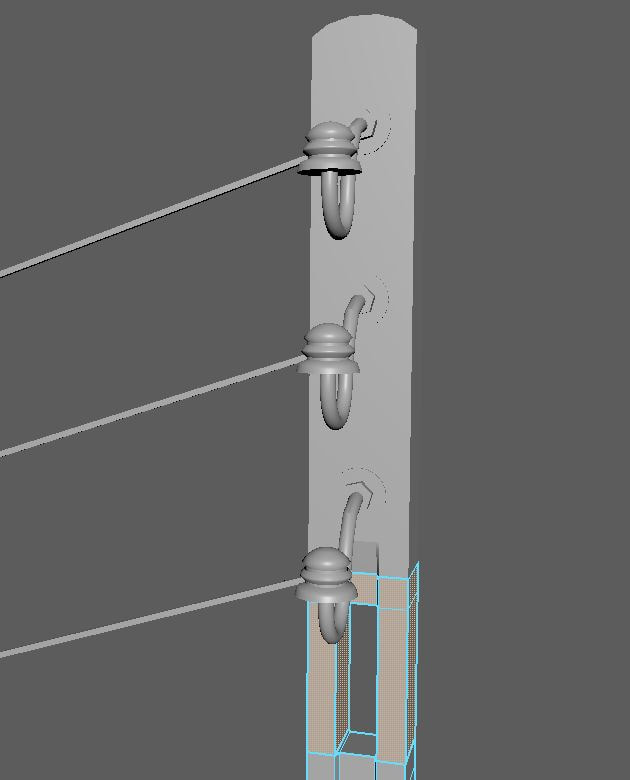
For the Rose and the Pole assets I used a lot of instancing. This enabled me to get away with 1024 texture for the pole.
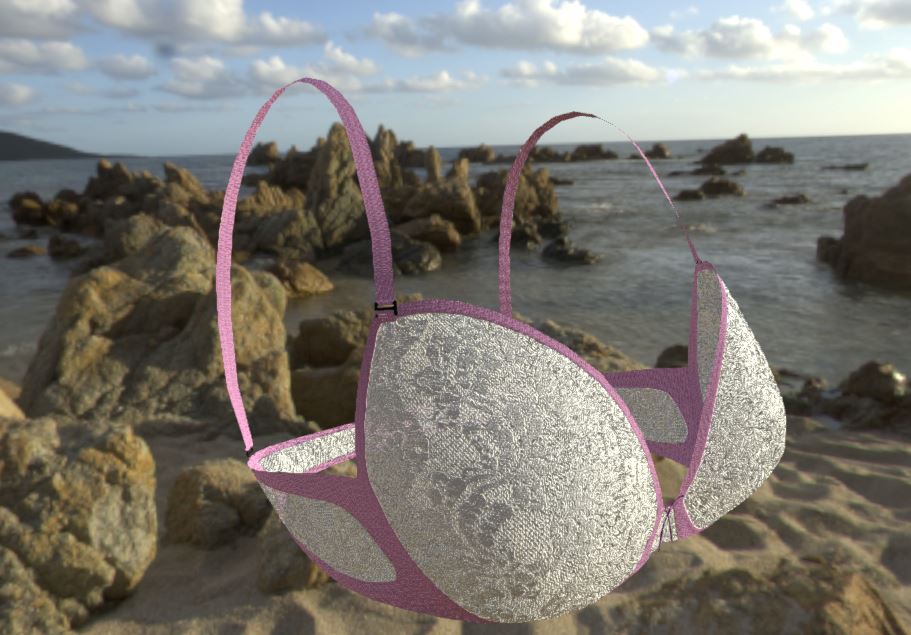
Making of the bra was actualy a suprisingly fast and fan part. I borroed a bra from my wife and got down to work. It was first sculpted with Zbrush than retopologised in Maya. The whole modeling and texturing process took me couple of hours but I am quite happy with the result as I usually tend to stick to hard surface as much as I can.
Links to sketchfab:
Bra
Car
90% of the car is made with Maya. Some details were sculpted with Zbrush however Hi poly from Zbrush was used only for Normal map baking.
When I can, I allways try to bake colour ID map using materials form Maya as it gives much sharper results. The whole car is is textured using two 4k texture sets.
For the Rose and the Pole assets I used a lot of instancing. This enabled me to get away with 1024 texture for the pole.
Making of the bra was actualy a suprisingly fast and fan part. I borroed a bra from my wife and got down to work. It was first sculpted with Zbrush than retopologised in Maya. The whole modeling and texturing process took me couple of hours but I am quite happy with the result as I usually tend to stick to hard surface as much as I can.
Links to sketchfab:
Bra
Car

4. Lighting and more vegetation work.
For the final lighting efect I used mostly:
Directional light, magenta spotlight that gives volumetric shafts and one set of light probes. Any other assets contribute to the lighting in a minor way and I could propably get away without using them in this scene. All the light in this scene is real time.
Directional light, magenta spotlight that gives volumetric shafts and one set of light probes. Any other assets contribute to the lighting in a minor way and I could propably get away without using them in this scene. All the light in this scene is real time.
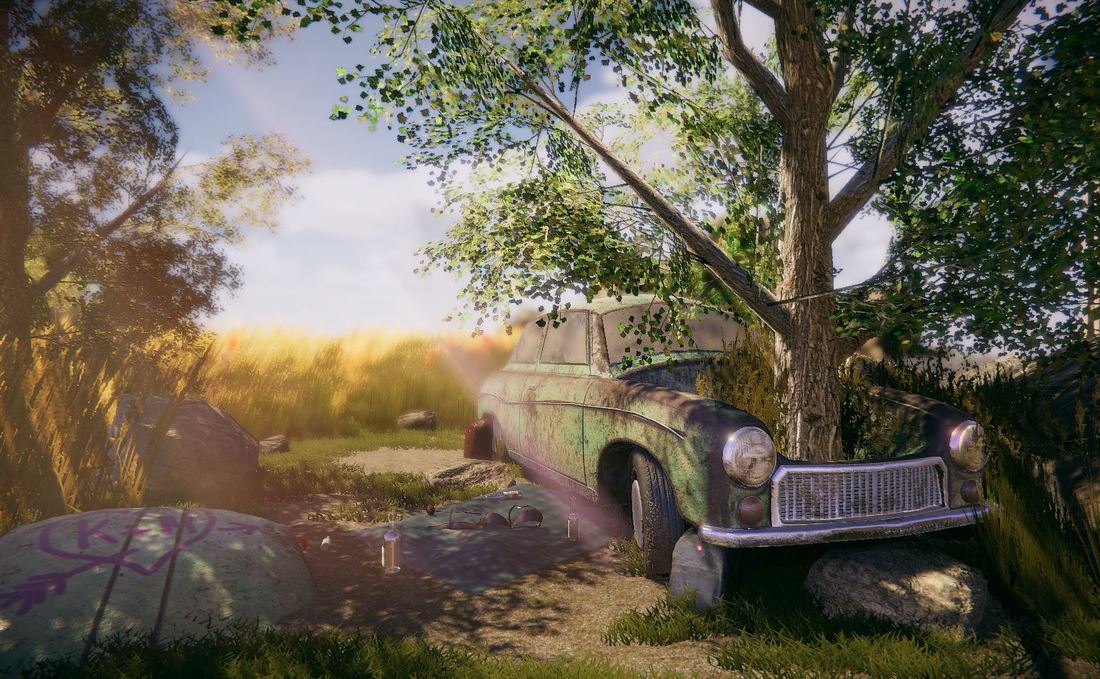
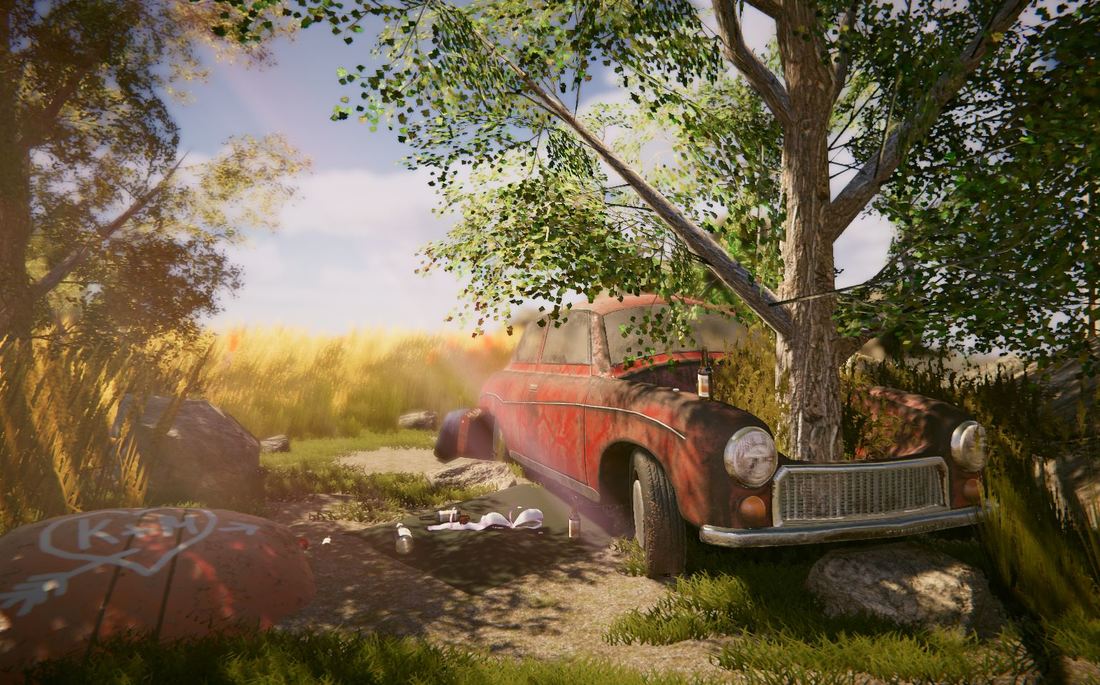
5. Last minute changes.
Below, you can find an example of the change that I made at the very end. This is only thanks to non-descructive workflow in Substance Painter.
I cannot stress enough how handy non-descructive workflow was when I realised that my scene is apparently so green!
I decided to change the car colour completly to make it pop out. Changing the colour of the bra also supported the storytelling part as it helped to direct the eye of the viewer to the significant detail.
Thanks for reading!
I hope you like it.
I hope you like it.
